These days, it takes a village to make a purchase decision. Gone are the days of calling up Joe from IT, catching up over lunch, and closing the deal a week later. Today’s sales reps get to woo an entire buying committee.
In 2014, CEB began tracking the average number of people who have to formally sign off on any given purchase. It started as an average of 5.4 people, jumped to 6.8 people in 2016, and reached 10.2 people in 2018. Instead of convincing a single buyer, you have to create consensus among buyers. There are more departments to deal with, more stakeholders—which means more opportunity, sure, but also a longer, more complex sales cycle.
To navigate this increasingly complex process, you turn to your trusty CRM. There’s just one problem: a CRM gives you valuable data, but it’s just that—data without context. Your CRM can’t circle the stakeholder you absolutely have to win over. It doesn’t mark the biggest naysayers with a red X. In short, it doesn’t show the complex relationships that can make or break a deal. The data is accessible, but is it usable? This is where account mapping comes in.
Sales account maps help you get the most from your data by filling in the gaps and connecting the dots throughout the sales cycle. In this post, we break down how and why you should be using them.
REPRODUCTION
Posted by: Lucidchart Content Team
What is account mapping?
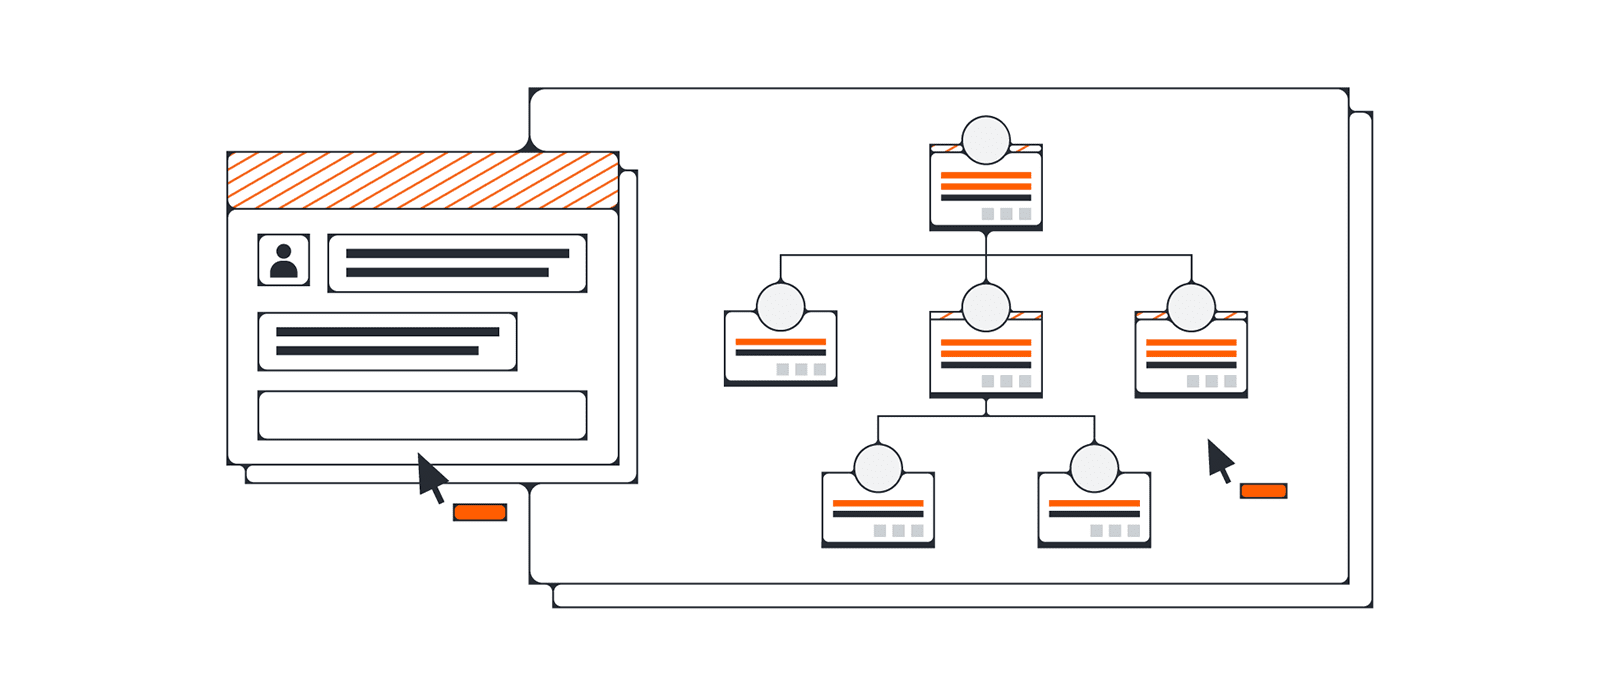
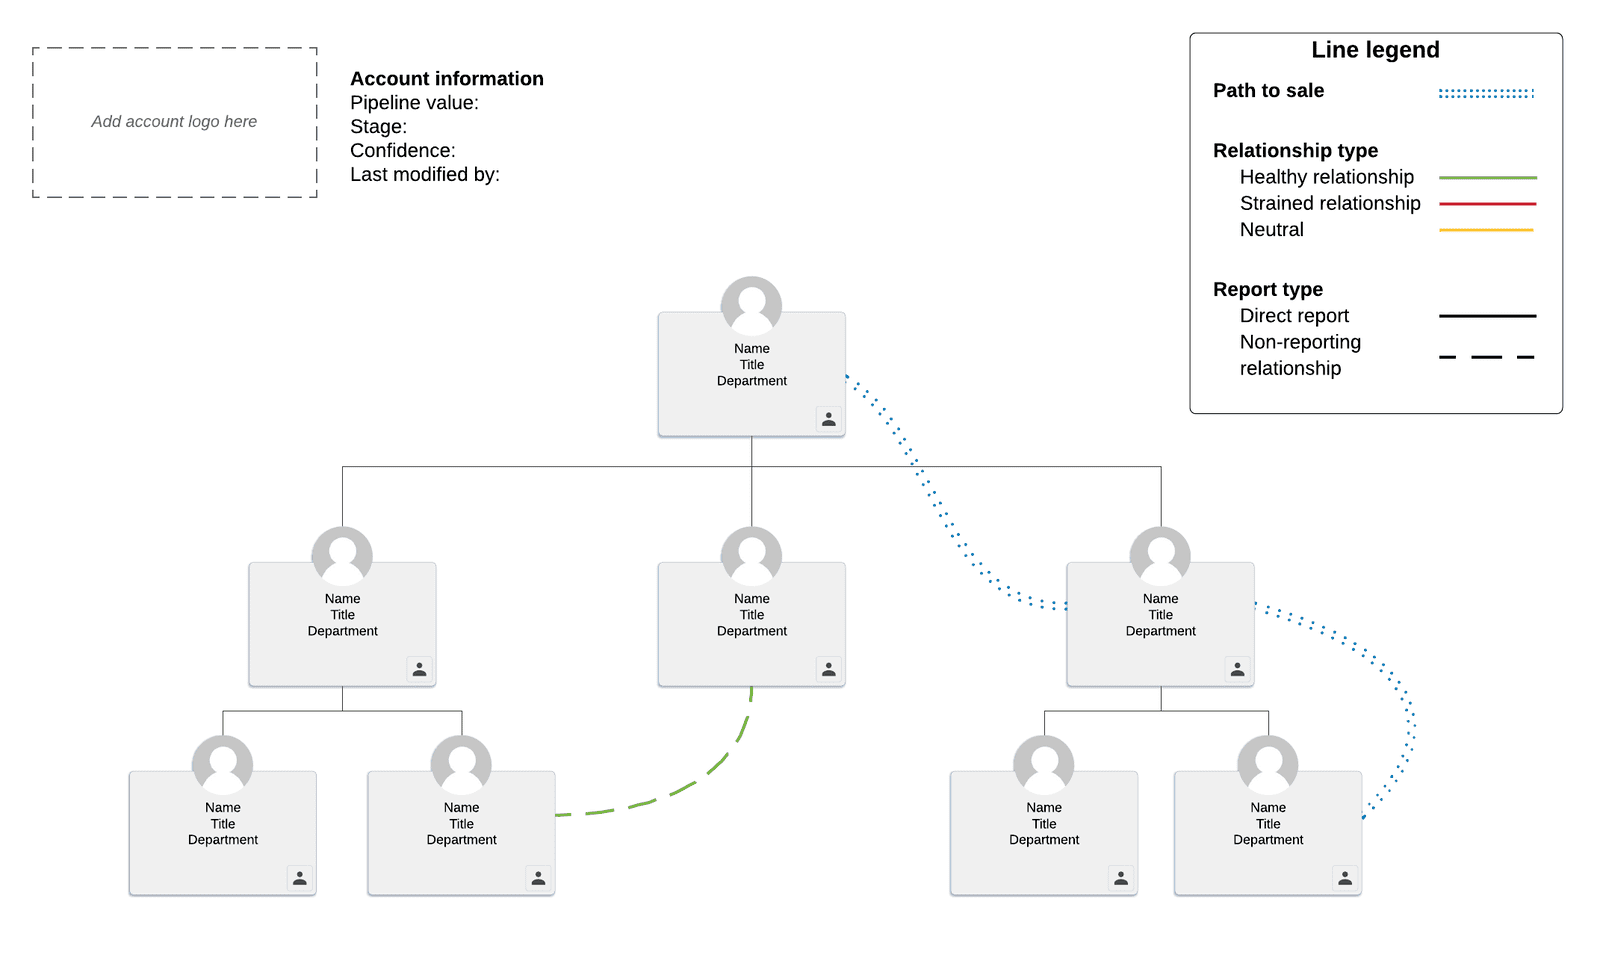
Account maps are a simple way to organize your account information visually. As their name suggests, they help you navigate the sales process. Let’s face it: CRM data can be a lot to take in. An account map allows you to visualize the entire deal and find the best path to sale without sifting through pages of CRM data. By presenting this information visually, you can easily identify champions, blockers, influencers, and buyers, gain executive sponsorship, and understand new accounts faster.
How to build an account map
Ready to share information effortlessly across your sales org and streamline the path to sale? Follow these steps to build out your account map.
1. Visualize information from your CRM
As soon as you start the discovery process, you should begin building an account map. The first step in account mapping is to gather your contacts. Create boxes or add pictures to a new document to represent each of your contacts within an organization.
2. Attach relevant information
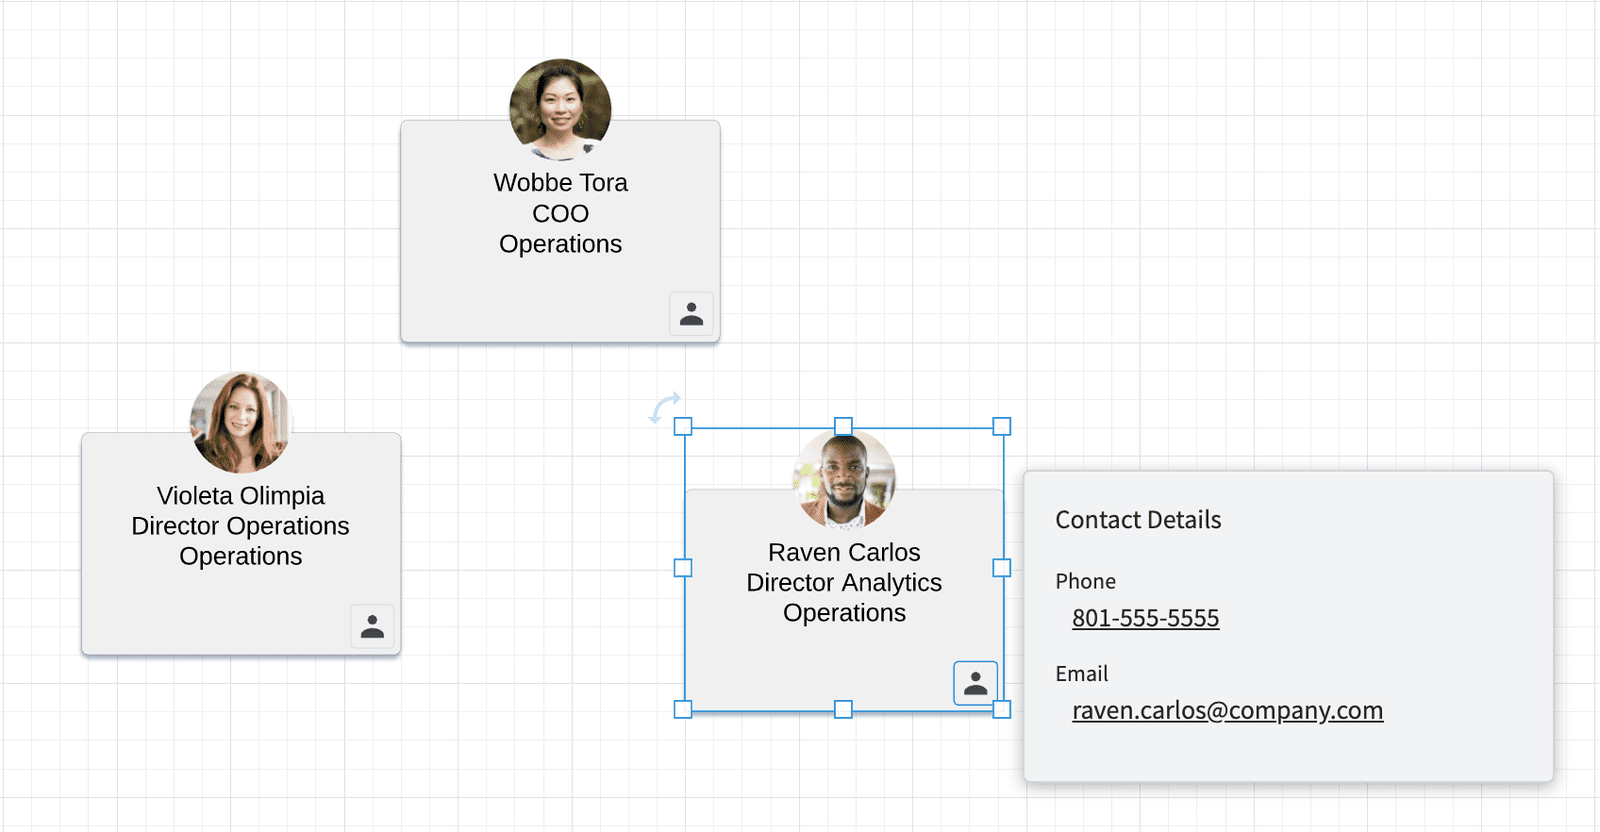
Now that you’ve got your contacts mapped out, it’s time to add some details. A sales account map should include essential contact information, allowing you to quickly and easily track who is who and check in with specific individuals. If you haven’t already done so, clearly label your document with the account name. For each individual contact, add a name, job title, phone number, and email.
If your eyes hurt just thinking about adding all of this info manually, don’t worry—there’s an easier way. With Lucidchart, you can quickly import all of this data directly from Salesforce, so all you have to do is drag and drop each contact onto the canvas.
3. Build out the org chart
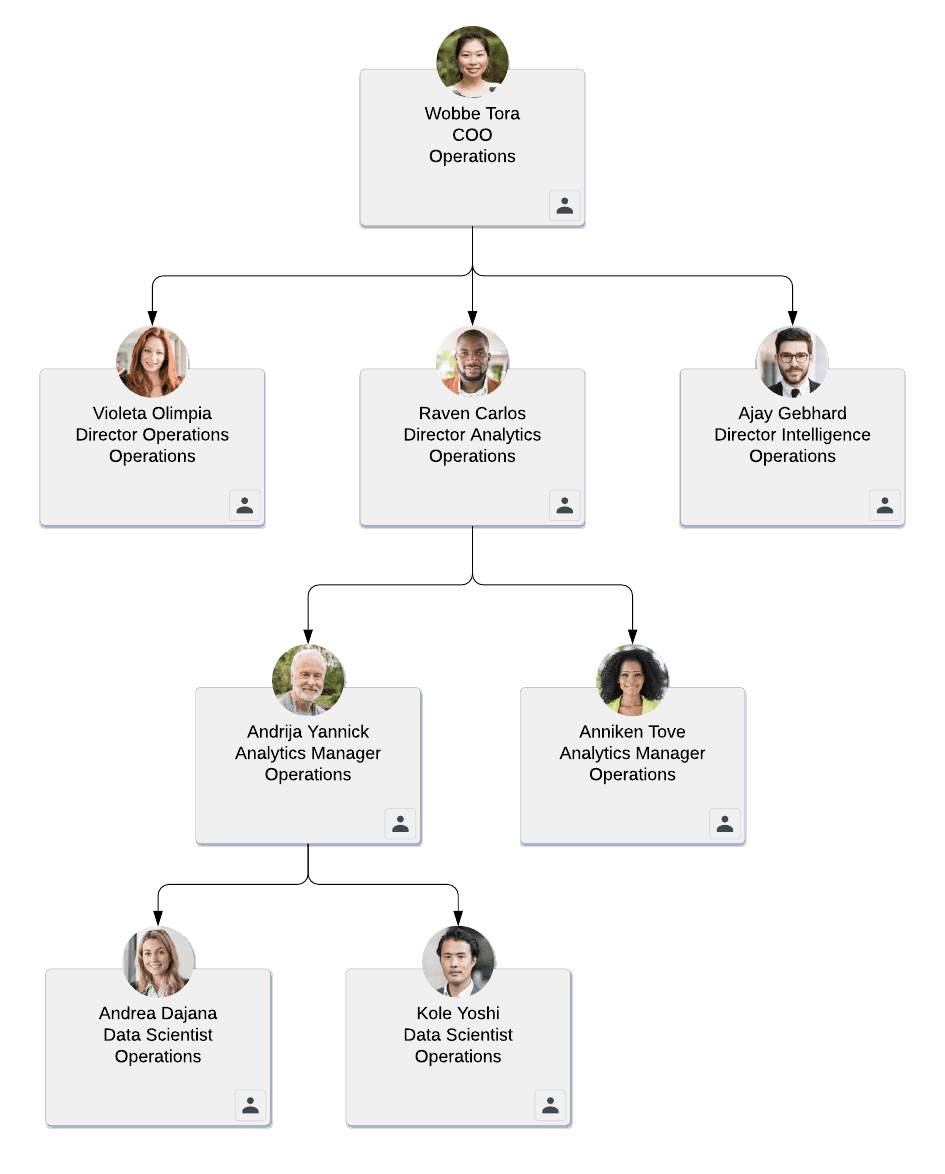
At this point, your account map has a whole lot of information, but not much structure. Let’s change that! Organize the contacts you’ve created, and connect them with lines according to hierarchy.
This is where you really start to get some value from your account map. Say you’re on a call and the prospect says you’ll need to talk to the director of marketing. With just a quick glance at your account map, you’ll know the director’s name is Sally Jones. The prospect will realize you’ve done your homework and have a deep understanding of their organization. This might seem trivial, but it’s little details like this that can help you move forward with an account.
As prospects name additional people to speak with, you can easily and quickly add them to the account map. You’ll immediately understand where these individuals fit into the company’s hierarchy, who else they might be related to, and how they play into the deal.
4. Label contacts in key roles
In Salesforce, you may be familiar with the “role” field. If not, it’s pretty straightforward: Contacts are assigned “roles” according to the part they play in your deal (“champion,” for example, or “influencer”). If your sales org has already developed roles specific to your company, use those terms to identify the role for each contact in your account map. Update their info on the account map accordingly.
If you haven’t created roles specific to your company, we recommend using this set of default Salesforce roles:
- Influencer: A person whose job or perspective has an impact on the purchase decision (such as a software end-user)
- Blocker: A person who prevents you from moving the deal forward, typically because they are difficult to reach or they oppose change
- Champion: A person who uses and advocates for your product/service and who can provide information on the decision-making process
- Buyer: A person (often part of a committee) who ultimately decides whether the company should purchase your product/service
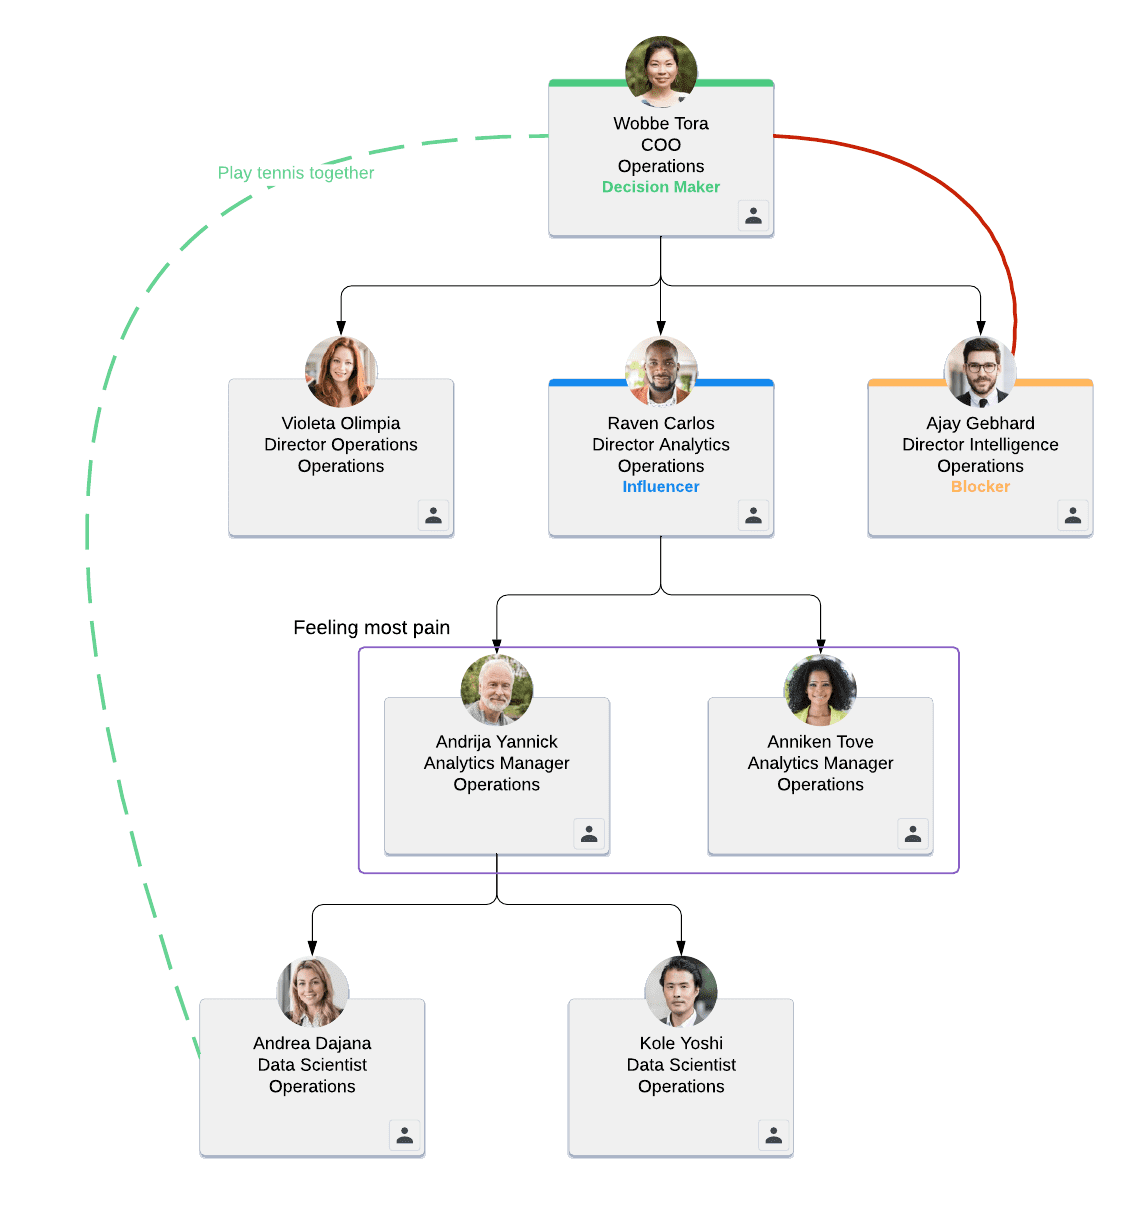
To complete this step, you’ll need to determine how each prospect feels about your product/service and what role they will play in the buying process. Use shapes or colors to give yourself a visual key for each role. You might, for example, color blockers red and champions blue.
5. Identify key relationships to find the best path to saleMany sales reps assume that they need to work their way up the hierarchy to close a deal. They speak to a manager first, then a director who connects them with an executive with purchasing power—and they take this same route every single time.
While this mindset can lead to sales, here’s the trouble with that type of thinking: If you find a blocker early on in your calls—maybe a director uses a competing product and doesn’t see the value of changing—you’ll believe you’ve hit a wall in the company and mark it as no opportunity.
An account map can help you avoid these walls and navigate the sale based on relationships that go beyond hierarchy. To show relationships between individuals on your account map, change the color of the lines that connect your contacts. Use green lines to represent a positive relationship; use red lines for negative relationships. Remember, you’re not mapping out friendships—the relationships shown in your account map should indicate which people have initiatives or interests that line up well with each other.
This step will help you understand which relationships can create the consensus necessary to close the deal. As you determine each contact’s status, you might find areas where you can add new lines to indicate relationships not found on the org chart. Filling in these gaps helps you better influence blockers or buyers, and focus your efforts on the right people.
6. Share with leadership and other members of your sales org
If sales leadership doesn’t understand the status of your deal, it’ll be difficult for them to coach you and connect with key individuals in your account. And the more support you have from your own executives, the easier it is to close the deal.
Account maps allow you to better inform your leaders so you can get executive sponsorship where you need it most. During one-on-ones and pipeline reviews, you can pull up an account map to show exactly who you’ve been talking to and where the deal stands.
7. Maintain, maintain, maintain
You’ve reached the last step, but that doesn’t mean you’re done! Building an account map is a continual process. You’ll continue to add contacts and notes and mark key relationships as the account develops.
Territory realignment and account transitions are a given in the sales world. Every time an account changes hands, the new rep has to dig through the CRM to try and understand their new deal. If you constantly update your account maps, there’s no need to go wading through CRM data when an account changes hands. Instead, you can instantly see the deal’s history, current status, prospect details, and streamlined methods for getting in touch—all within the context of your account map. You’ll spend less time trying to understand the lay of the land and more time working the new deal.
Account map templates
At this point, you can hopefully explain what an account map is and some of the benefits of using account maps. But maybe you’re still not comfortable building your own sales account map from scratch. Or maybe you just want a jumping-off point.
Either way, never fear—we’ve included some examples and templates to help you with your first account map!

The sales cycle is only going to get more complex—a CRM alone won’t cut it anymore.
For Dean Weede, senior sales executive at Box, taking the time to build an account map makes the difference between closing a sale or losing it:
“I create account maps for all my deals. I had a six-figure deal...where I thought I knew who all the players were and I thought I knew who the top executive was. For some reason, I didn’t build out the account map, and as a result, I missed that there was a CMO...If I had done the exercise of building out the account map, I would have known there was a CMO that we needed to talk to as well—and I lost the deal as a result.”